Late 1870's Mourning Gown "aka" The Black Hole
Just recently I was invited to my friend Taylor's birthday party in mid-June. The party is held at a gorgeous Bed & Breakfast in southern Virginia called Endview Plantation: the theme being Victorian gothic.
With that being said it was time for me to get in touch with my inner goth, and pull out all of the black 19th century outfits I had in my costume closet. However of the 2 outfits I have, I ran into some trouble deciding on what to wear: a black calico print 1860's gown from Lincoln's Lady, and an 1812 full mourning gown; also while it's not an outfit (yet), I have a late 1870's black skirt. So, being the glutton for punishment as I am, I opted to just focus that skirt and build from it; making a proper late Victorian mourning gown. Now, here's the thing...What style did I want to go with? Looking through pinterest, I saw so many options! It was overwhelming to a point where I really didn't know where to start. So my solution was to just pull my favorite pieces from each photo I collected (such as lace, trims, jacket style & cut, type of apron, and accessories).
 |
| My absolute favorite gown |


After acquiring the necessary pieces, plus 10 yards of cotton fabric I needed to make the whole outfit, I first had update my current skirt. I had no idea how butchered this skirt was, until I looked it over.
Under Petticoat
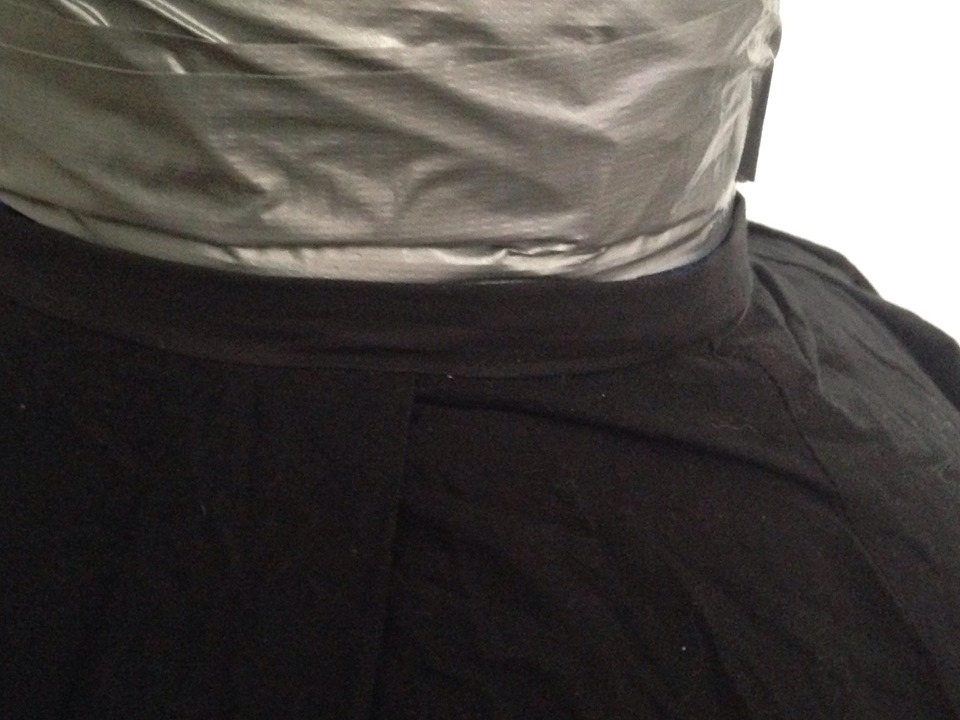
When I made the skirt back in 2014, I was still in the early costuming stage of my life and didn't understand how things really worked; I just wanted it done asap. Five years later, I'm now looking over my early work and cringing. There were some pieces of flounce/ruffles that were misaligned which made the skirt a little revealing along the bottom to where you could see my white underskirt. I was able to conceal it with another 3rd and final row of flounce all around the bottom of the dress. I also added a thicker waistband.

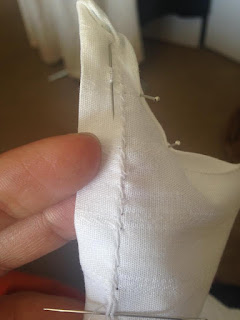
With all of the 1/2'' pleating I've done so far to make the new flouce, I am currently going into my 4th day; I haven't started making the new stuff yet, which has me a little frustrated since I'm on a deadline. So, I'm officially naming this project, "The Black Hole". The dress keeps getting larger, heavier, more complex and of course time consuming.
 |
| Clarabelle inspecting my work |
 |
| I guess that means it's approved :P |
Apron & Train


Accessories
After the foundation gown was completed, I finally jumped onto making the apron. This part was a little tricky as again, I really could not decide with how I wanted to make it. There are several styles and techniques. But at the end of the day I opted to just keep things simple with a basic apron; with all of the pleated flounce this dress has, sometimes simplicity is the best route to go - not to mention, the train itself would be the intricate feature with both apron and train being detachable for other victorian outfits.

I used my modern-day apron as a template to make the front part of the apron and then added one row of 1/2'' pleated flounce to match the bottom. The yard of tapes were made from leftover fabric I had to make a large bow.


Bodice 

Making the train was a little more complex, mostly because I didn't have an available pattern. So as a result I had to improvise by drafting my own pattern. I used an existing Simplicity pattern (1558) with an elongated back of skirt B to my preferred length. After cutting the fabric and making yards and yards and yards of pleated trim, I made a belt out of cotton tapes and bustled the back; sewed the bustles on to the tapes to make them more permanent as well.


 |
| The finished train is tied overtop of the apron |
 |
| All that's left is to add the lace trim to the bottom of the underskirt! |
Lastly, the bodice had to be made. The only setback I faced was that I already used 2 yards of the fabric that I reserved primarily for the bodice, in order to make the train and ruffles. With only 1 remaining yard left (which is supposed to be lining for my front), I really had to think about what I wanted to do. So, as a result I decided to just use the 1 yard to make the sleeves and cuffs and then buy more of the fabric I need in order to make the jacket itself.


On the contrary of making this bodice, I really did not like making the darts in the front as they always seem to be uneven on either side (it took me more than 7 frustrating tries). In the end, I wound up covering a couple of the darts with leftover lace and after realizing how nice it looked just ended up decorating the whole thing. It turned out looking really beautiful afterwards, though I'm very tempted to add in hooks and eyes in the front rather than closing it up with buttons.
Nothing really to explain about my accessories, other than I really enjoyed looking at lace on etsy and JoAnns for several hours over a span of a weekend. I found through Etsy a really pretty fabric for a very inexpensive price and ordered a yard of it to make my veil, and bought 10 yards of the lace trim from Etsy. I'm still in pursuit of finding the right style of black buttons for the bodice and sleeves (vintage, glass, or covered buttons?). I'm sure you've all experienced the decision making dilemma when it comes to sewing.
 |
| I am in love with these lockets. I can see the locket on the right being possible hair jewelry? |


With only 11 days left to have everything finished for the party, I am pretty pleased and impressed with how everything turned out. I just have to remind myself to stay hydrated and in the AC for the duration of the event, as it will be hot as a sauna in Tidewater Virginia... during the Summer.
.jpg)

Comments
Post a Comment